
You Need know to Get Started with Your New iPhone
New technology doesn’t have to be intimidating or frustrating. Follow these simple strategies to keep your new iPhone from making you iCrazy.
After powering on your iPhone, the first thing you’ll want to do is sync your data to your new device. You have three options to do this:
- Start from Scratch
- Restore from the iCloud
- Move to iOS from Android
If you’re familiar with this process, skip to The iPhone Basics section below to learn key terms and features of the iPhone.
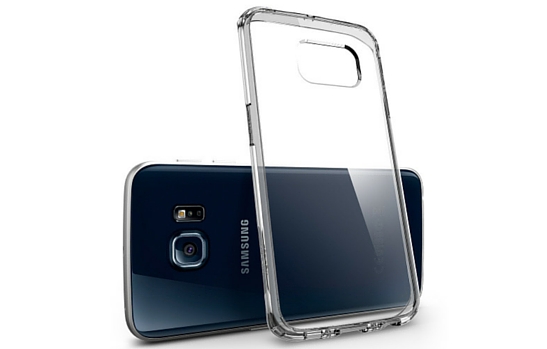
Already an iPhone master? Check out these articles for more helpful resources:
- Best iPhone Cases
- How to Make Your Battery Last Longer
- Best iPhone Accessories
Syncing Your Data
Option One: Start from Scratch
Starting from scratch is perhaps the easiest of the three routes, as your iPhone will guide you through every step of the process. However, you will lose all previously downloaded apps. So unless you’re brand new to owning a smartphone, you’ll probably want to restore rather than start from scratch.
If you don’t want to clutter your new phone with your old apps, iCloud will still protect your basic data. Log into iCloud when prompted to bring back your contacts. A full iCloud or iTunes backup restore may be unnecessary, unless you’re deeply worried about losing your Candy Crush score.
That being said, Apple Watch users should definitely not start from scratch, as all health data will be lost.
Option Two: Restore from iCloud
By default, most previous iPhone owners will restore via iCloud backup. Select “Restore from iCloud Backup”. To reach this option, you’ll first have to input your language, connect to a Wi-Fi network, and set-up your Touch ID. Your iPhone will then walk you through the steps to restore from iCloud.
If you have a large amount of data and little space left in iCloud storage, you may want to restore from an iTunes backup. Connect your iPhone to your computer (Mac or PC) and “Restore From iTunes Backup” instead of upgrading to more iCloud storage space and paying fees.
Option Three: Migrate from Android
Though it may seem onerous to make the big switch to Apple, Google makes this process surprisingly easy. Follow these 7 steps:
1. Set-up your iPhone as prompted until you reach the screen titled “Apps & Data”. Select the “Move Data from Android” option.
2. On your Android phone, open the Google Play Store and search for “Move to iOS”.
3. Open the Move to iOS app, tap “Install”, “Accept” the permissions request and tap “Open” after it’s installed.
4. Tap “Continue” on both phones, “Agree” and “Next” on the Android phone.
5. On the Android phone, enter the 12-digit code displayed on the iPhone.
6. After entering the code, the Android phone will connect with the iPhone over your Wi-Fi network.
7. Transfer your Google Account info. You will be given several options: Chrome bookmarks, text messages, contacts, and the photos and videos in your camera roll. Select what you want, and then tap “Next.”
The iPhone Basics
For those brand new to the iPhone, here are a few key terms and functions that you need to know.
1. The App Store
To download anything in the App Store, including free apps, you’ll need an Apple ID. Whenever you make a purchase, you’ll be asked to re-enter your password or your Touch ID.
If you have children who might use your phone, check your settings to ensure this security feature is enabled for in-app purchases.
2. Siri
Siri is Apple’s voice recognition persona. Siri can be used for just about any task, from sending text messages to figuring out how old Serena Williams is (hint – she’s 34). I primarily use her to get directions home by saying, “Navigate Home” from whenever I am. To do this, you’ll have to input your home address under your contact information.
Siri is integrated with the Music app so you can say, “Play Pop Music” or whichever genre you prefer to easily get your tunes going. She’s also great for finding movie show times or places to eat in your area.
3. Apple Pay (available on iPhone 6, 6S and SE)
Loading all of your relevant banking and credit card information into Apple Pay offers a smooth and secure payment solution. No more rifling through your wallet or purse; simply hold your phone to many participating retailers and pay effortlessly.
4. Apple Music and iTunes
The distinction between Apple Music and iTunes is a bit confusing. Apple Music is a monthly subscription service that gives you on-demand access to Apple’s entire catalog. However, unless you specifically download songs, all of this music will live in the cloud. You’ll need an active Wi-Fi or data connection to access it.
iTunes, however, allows you to buy albums and singles the old-fashioned (digital) way. It’s perfect for preloading music when you know you’ll be off the grid. You can do this with Apple Music as well, but you’ll lose your music if you ever cancel your subscription.
After You’re Up and Running
Now that you’ve successfully set-up your new device, what will you do with the old one? Check out Gazelle’s trade-in program to turn your older model into cold, hard cash. Selling smart can ease some of that new phone sticker shock


No comments