
How to install Windows 7 from USB or DVD
So, after we have changed the boot order to our Windows 7 installation medium and boot the system, we need to press any key on the keyboard to install Windows 7.

The Digital River Windows ISOs have only a single language to install, but we can select a different time and currency format and keyboard or input methods.

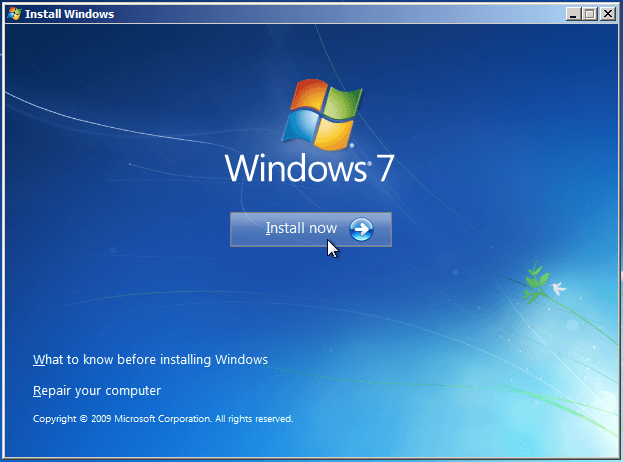
On the next screen, we select "Install Now"...
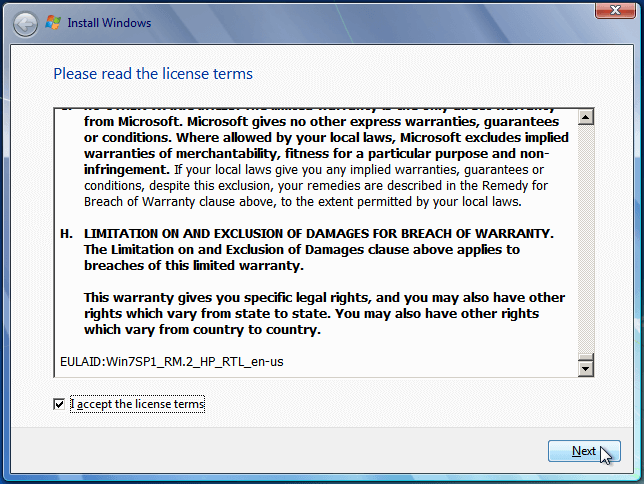
...read and accept the Windows License terms...
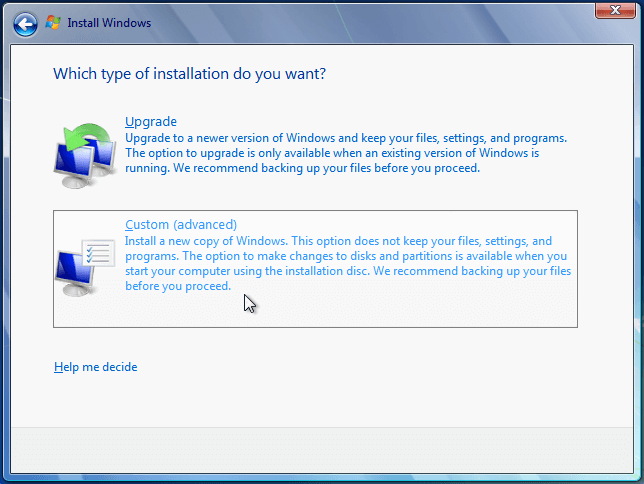
...and select "Custom (advanced)".
Select a hard drive or partition
There are multiple scenarios regarding the choice of the disk or partition where we will install Windows 7.
Install Windows 7 on an empty disk
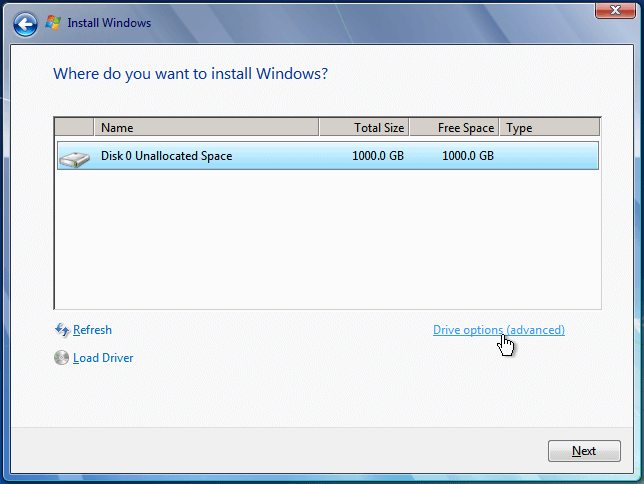
On a new PC or a new disk, we just need to select the disk, which should be characterized as "Unallocated Space".
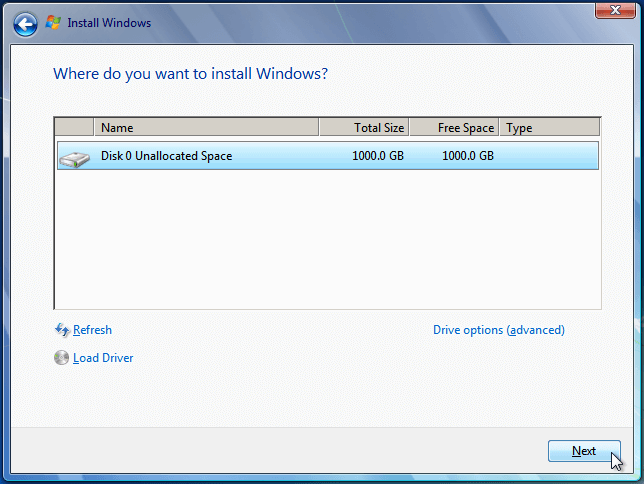
If we want Windows to create a single partition, we just click next.
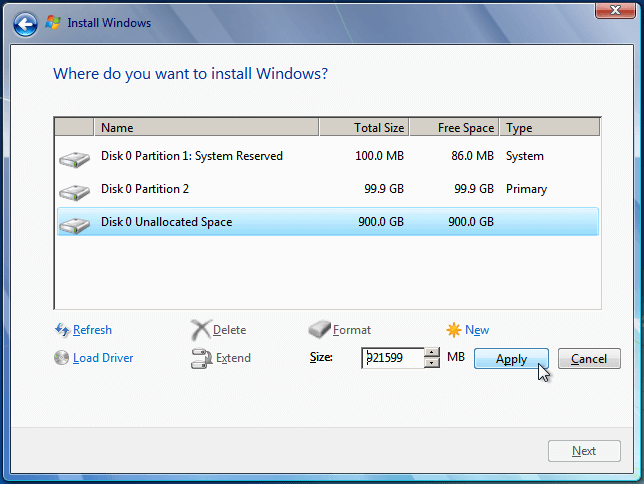
If we have a large hard drive and want to split it into two or more partitions, we must click on "Drive options (advanced)"...
...and then click "New", set the size for the new partition in Megabytes (remember, 1GB=1024MB), and "Apply".
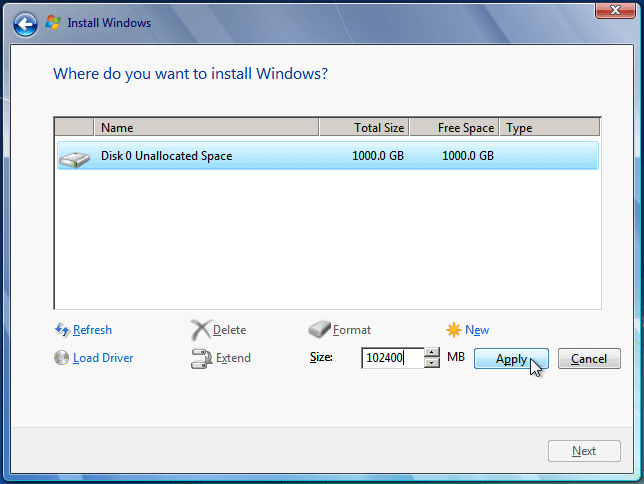
Windows itself, without any programs, takes about 21GB...
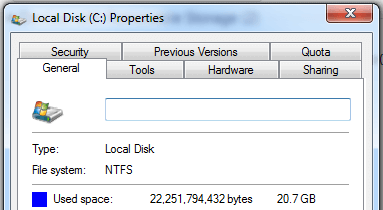
...but if we intend to install large programs, such as games with 50GB+ installations, we should allocate between 100GB (102400MB) and 250GB (256000MB), so we don't run out of space. The System Reserved partition is created automatically.
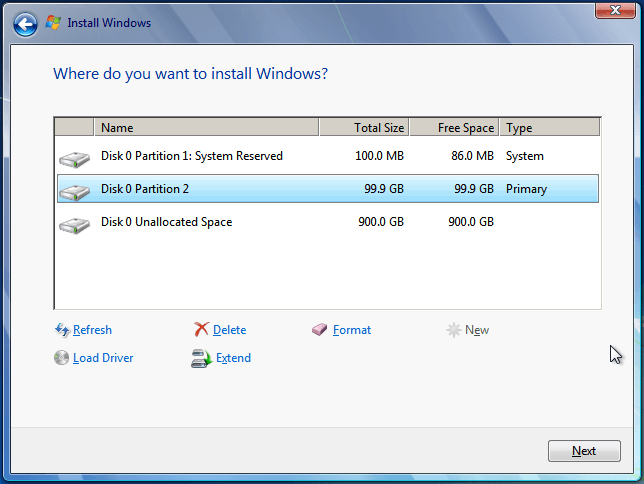
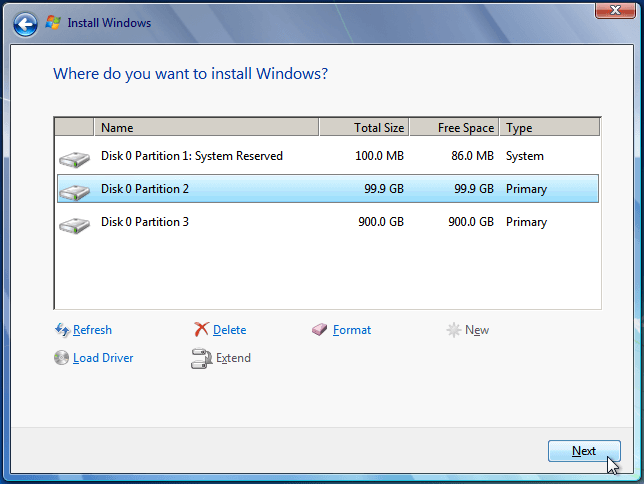
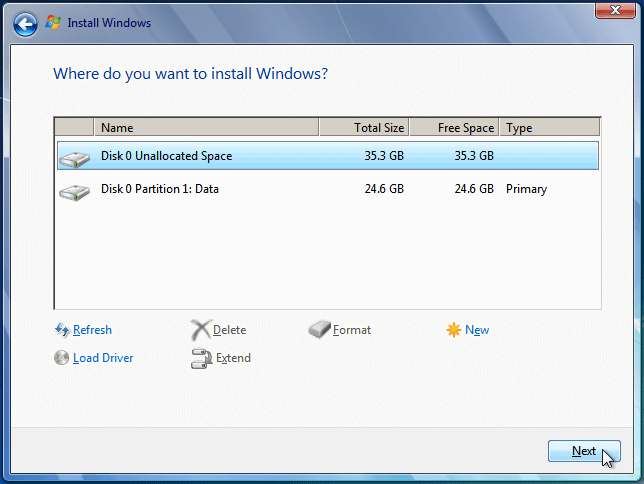
By clicking the rest of the unallocated space, we can create a data partition for our files.
Finally, we select the Windows partitions and click on "Next" to install Windows 7.
Install Windows 7 on a disk that already has a Windows partition
If we had a previous Windows installation on the disk, it will show as one or more Windows partitions. Usually, the first one or two partitions - if there is a System Reserved Partition - belong to the previous installation.

Before we make any changes to the previous partitions, we need to make sure we have backed up any data on the partitions. Deleting or formatting the partitions will destroy all the files inside.
If there is data we haven't backed up, but don't have access to the previous Windows installation, we can follow this guide: Windows Won't Load? Two Ways to Rescue our Files.
With our data safe, it's best to delete the previous Windows Partitions. We just need to click on Drive options (advanced)...
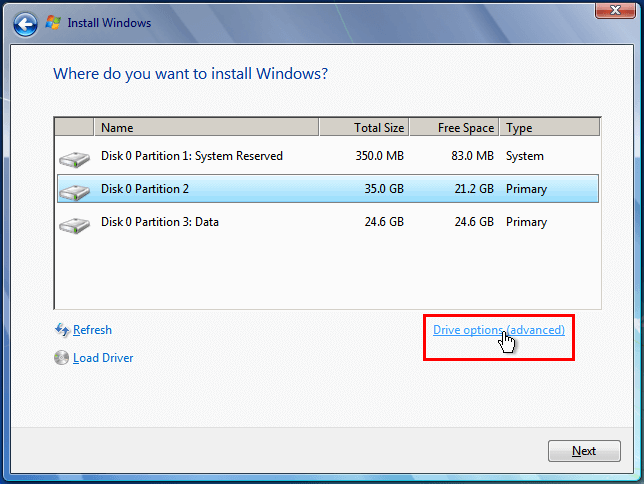
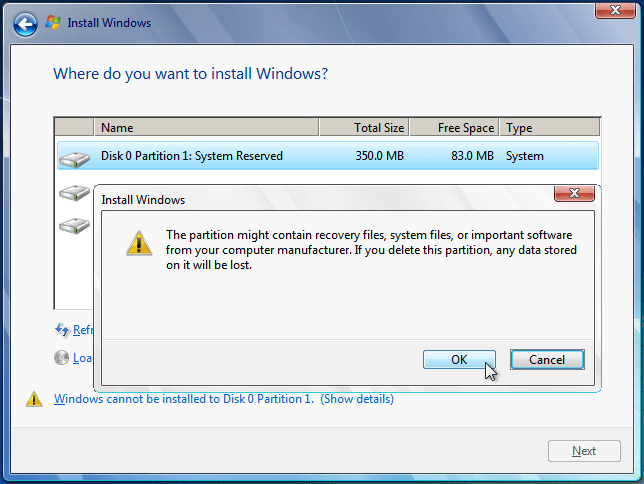
...select the partition we want to delete and click on "Delete".
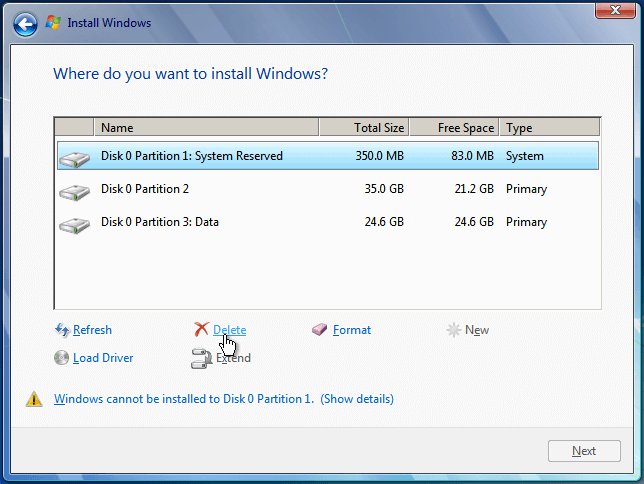
We click OK on the warning.
We repeat until only the data partition remains, if there was one. We then click on the unallocated space and click Next to install Windows 7.
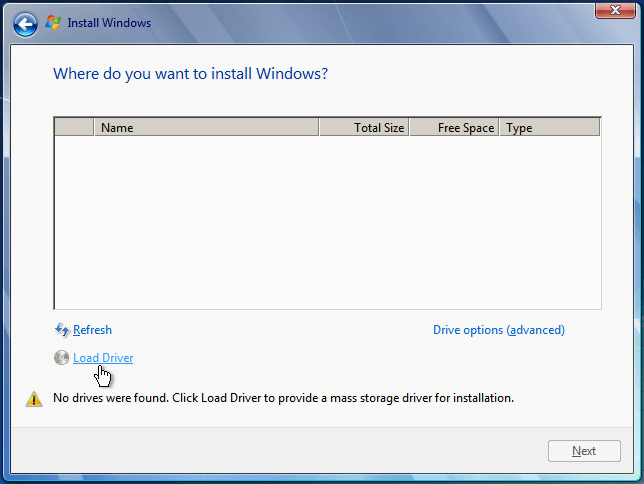
No drives are found
If we get a message that "no drives are found", it can mean three things:
- Windows doesn't have drivers for the particular motherboard's SATA controller
- The hard drive isn't correctly connected to the motherboard or the power supply
- The hard drive doesn't work

The most common scenario is that Windows needs external SATA drivers to recognize the hard drive. This will usually happen with laptops, rather than with desktop PCs.
We will find those drivers on the manufacturer's website for the laptop or the motherboard, usually as SATA or SATA AHCI.
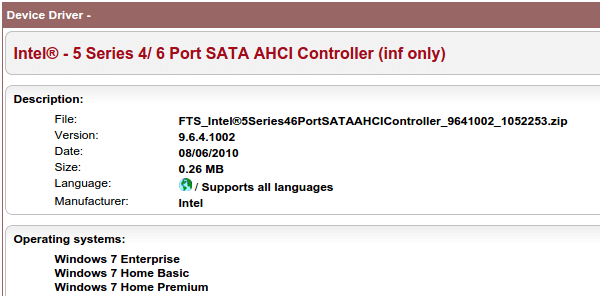
On a second PC, we then download the drivers - usually as a .zip file - and copy all the files to a USB thumb drive.
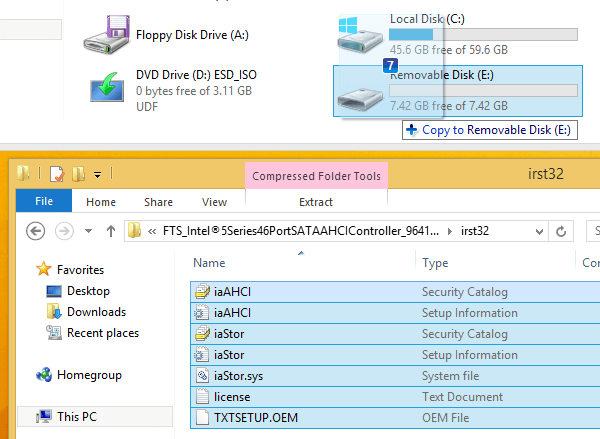
Then, we connect the USB to the PC where we want to install Windows, click on "Load Driver"...
...and we can either click "OK" for Windows to search automatically for the driver or "Browse" to point manually to the driver folder.
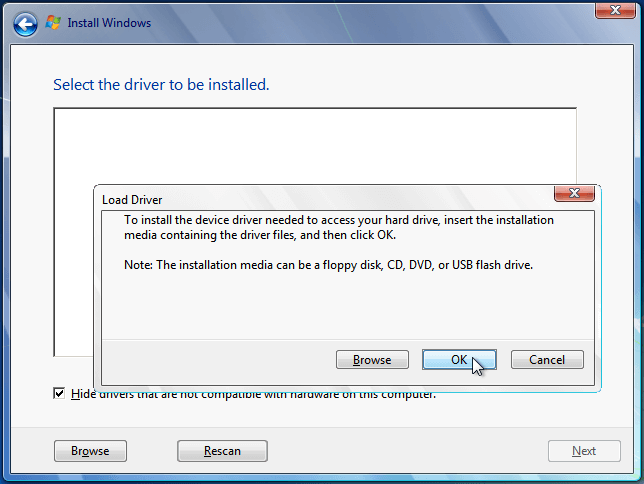
After that, the disks will be visible, and we can install Windows 7.
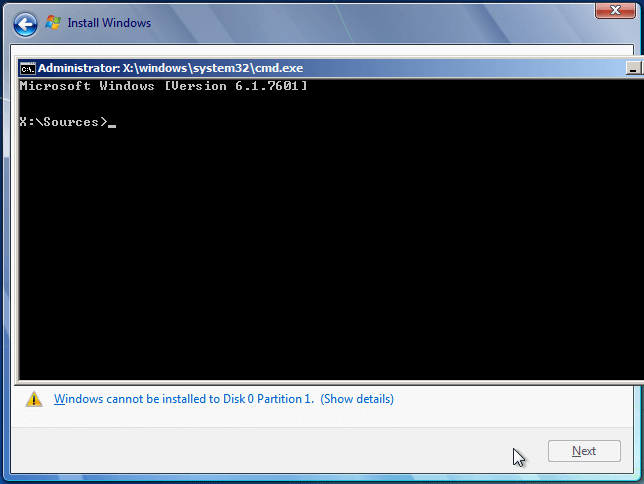
Windows cannot be installed to this disk (GPT partition style)
We will often get this error when trying to downgrade from a PC with pre-installed Windows 8 / 8.1.

The problem is that the drive has a GPT partition style, and Windows 7 cannot be installed on GPT.
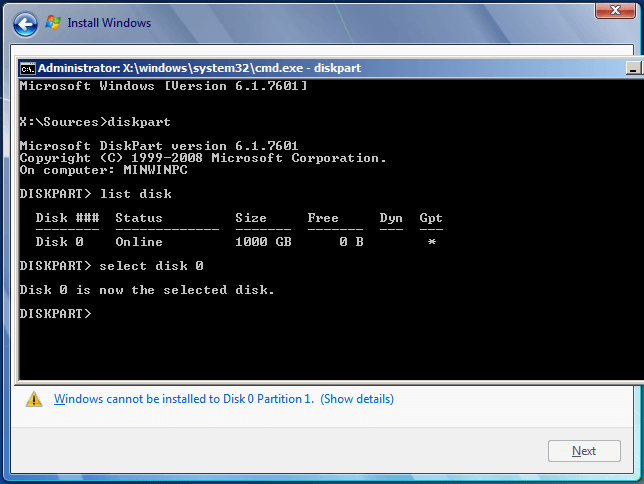
To fix this issue, we must press Shift+F10 to open a command prompt window.
We type:
diskpart
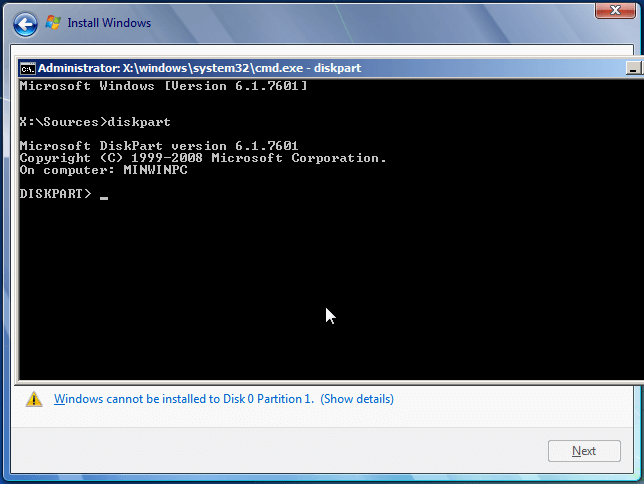
With Diskpart loaded, we use the list disk command to show all our hard drives, and then select disk 0 to choose the disk where we want to install Windows.
list diskselect disk 0
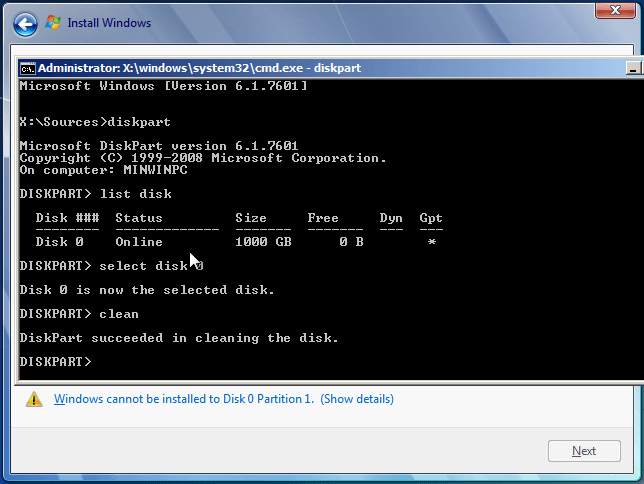
The next command will completely erase the disk, all the partitions and any data. So, make sure there isn't anything you need from that disk and everything is backed up.
To remove the GPT partition style, we type
clean
After that we close the command prompt, click on refresh...
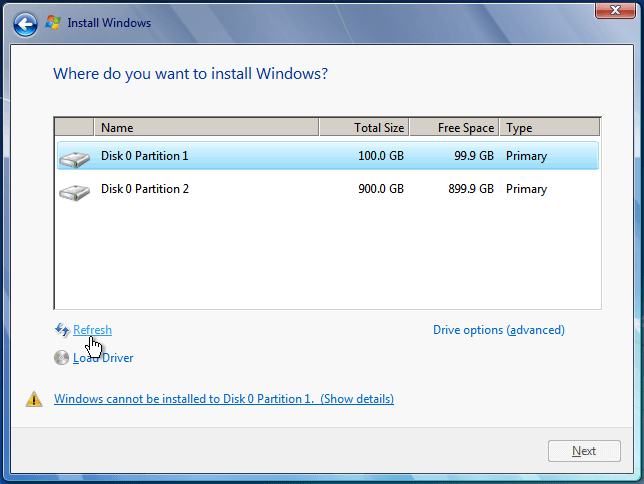
...and that's it. All of the partitions are gone, but the error message is also gone. We can click on drive options to create partitions, as we saw earlier, or click next to install Windows 7 on the whole disk.

Automated Windows Installation
After we selected disk or partition, Windows installation is mostly automated. It will first expand files...

...automatically reboot and continue with the installation.

Setup Windows 7
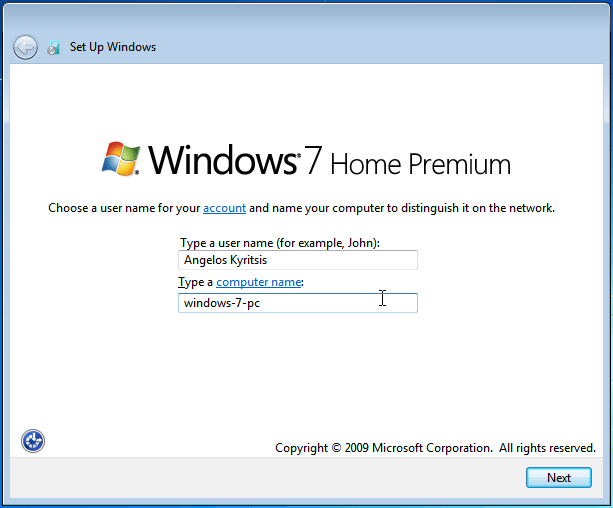
After a second automatic reboot, we just need to enter our personal information and create our user account.
First we select a username and a computer name. The computer name is the name with which our PC will show on our local network (LAN).
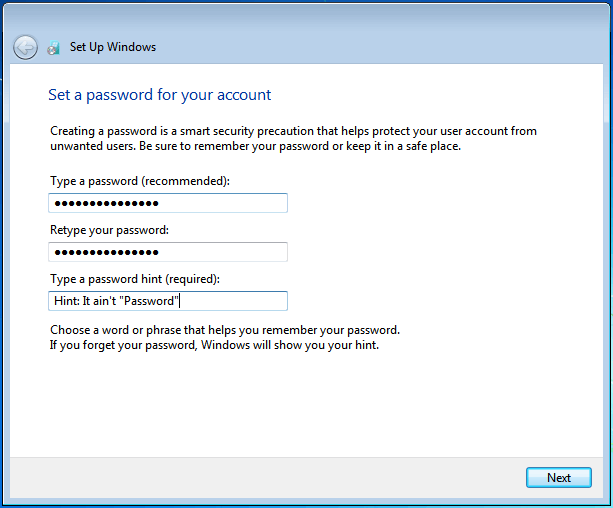
Typing a password is optional, but encouraged for our account safety.
We can add the product key now, but we can also add it later. Digital River Windows 7 Home Premium ISOs will work for 30 days as a full trial without a product key.

It's best to use the recommended settings for Windows update.

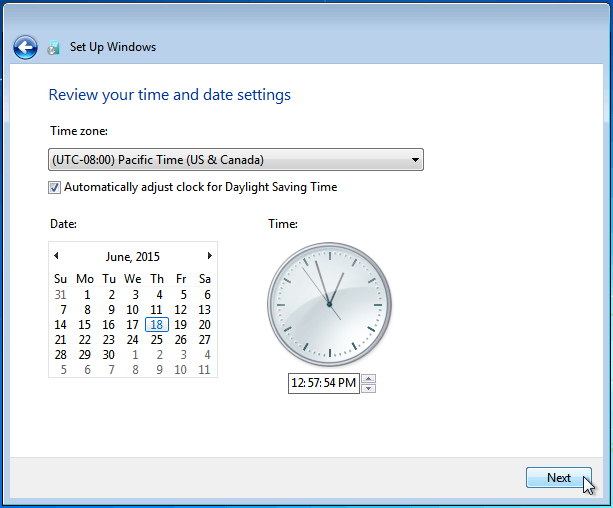
We select our time zone, and make sure we have the correct date and time.
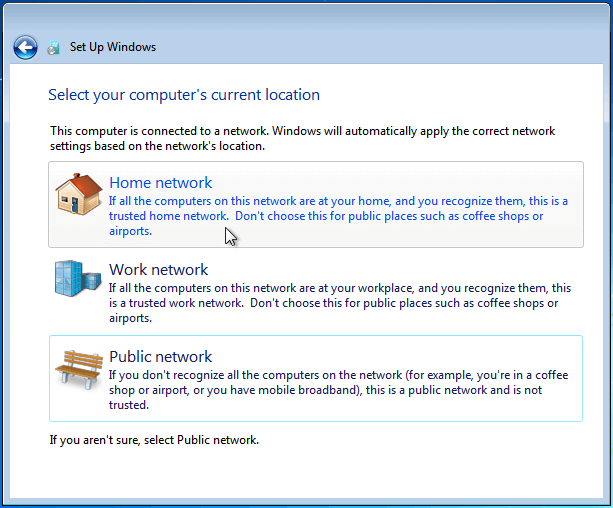
If our PC is connected to our home network with Ethernet, we select Home Network to be able to exchange files with other devices through the LAN.
Windows will prepare our desktop...
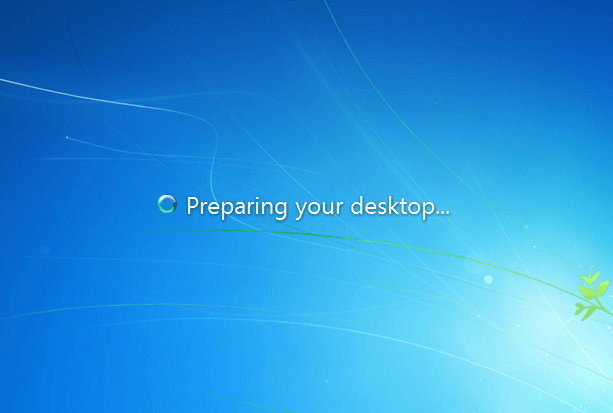
...and that's it. We have successfully installed Windows 7.
Now, the only things we have to do is install any missing drivers, which we will cover in a future guide, then install the 10 essential Windows Programs every PC should have, and any other software we need.


No comments